

How to Plant Bare Root Standard Roses: Step-by-Step
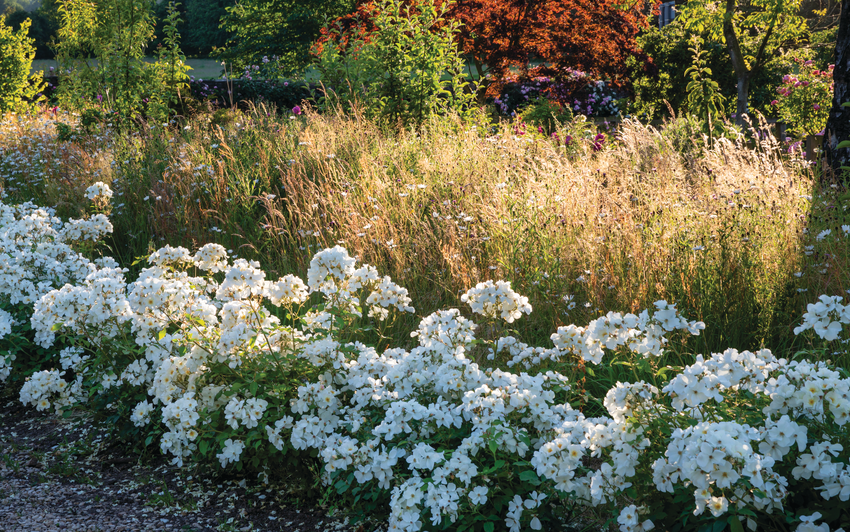
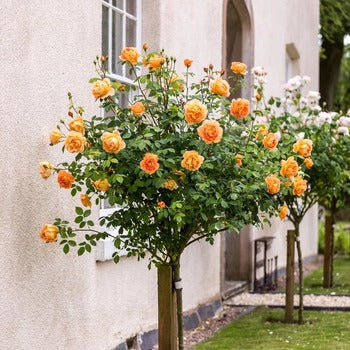
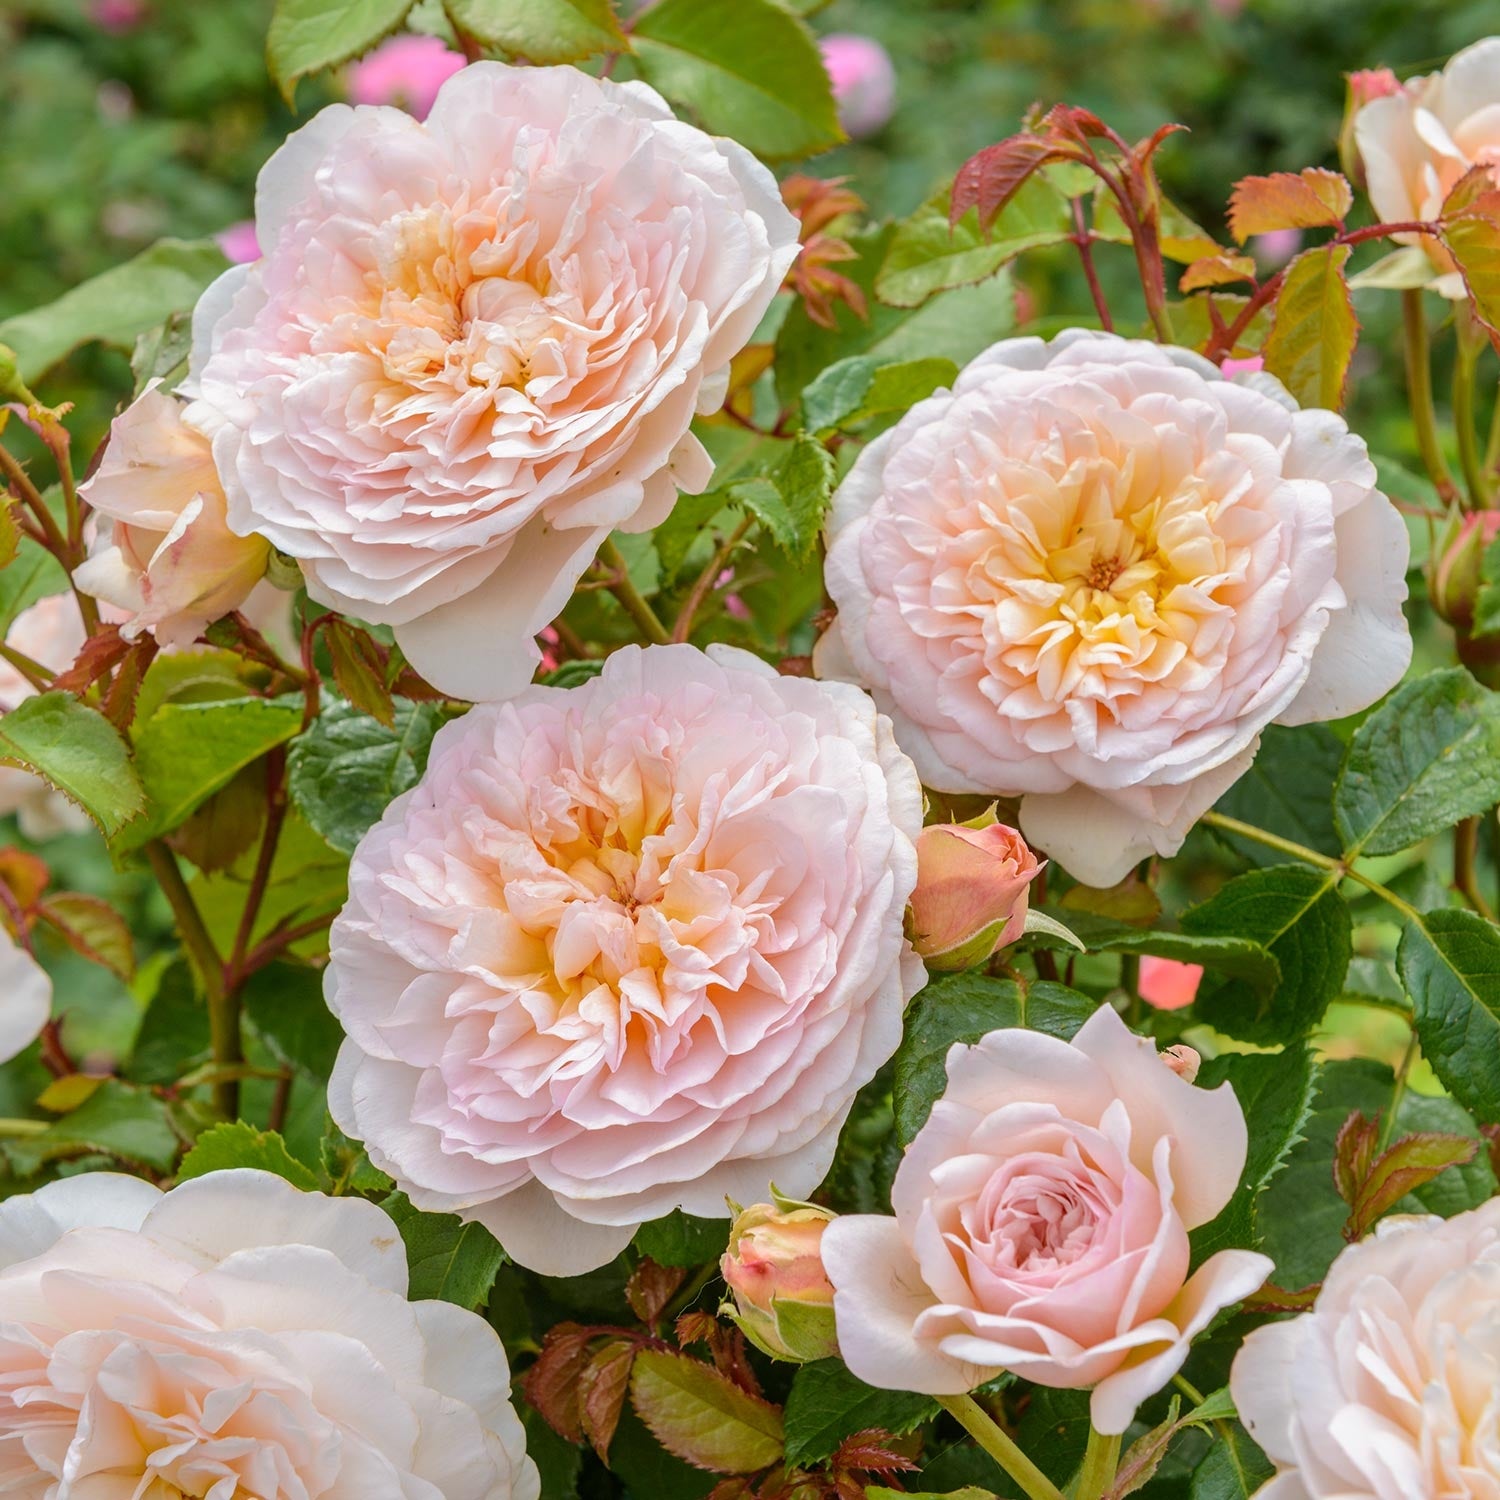
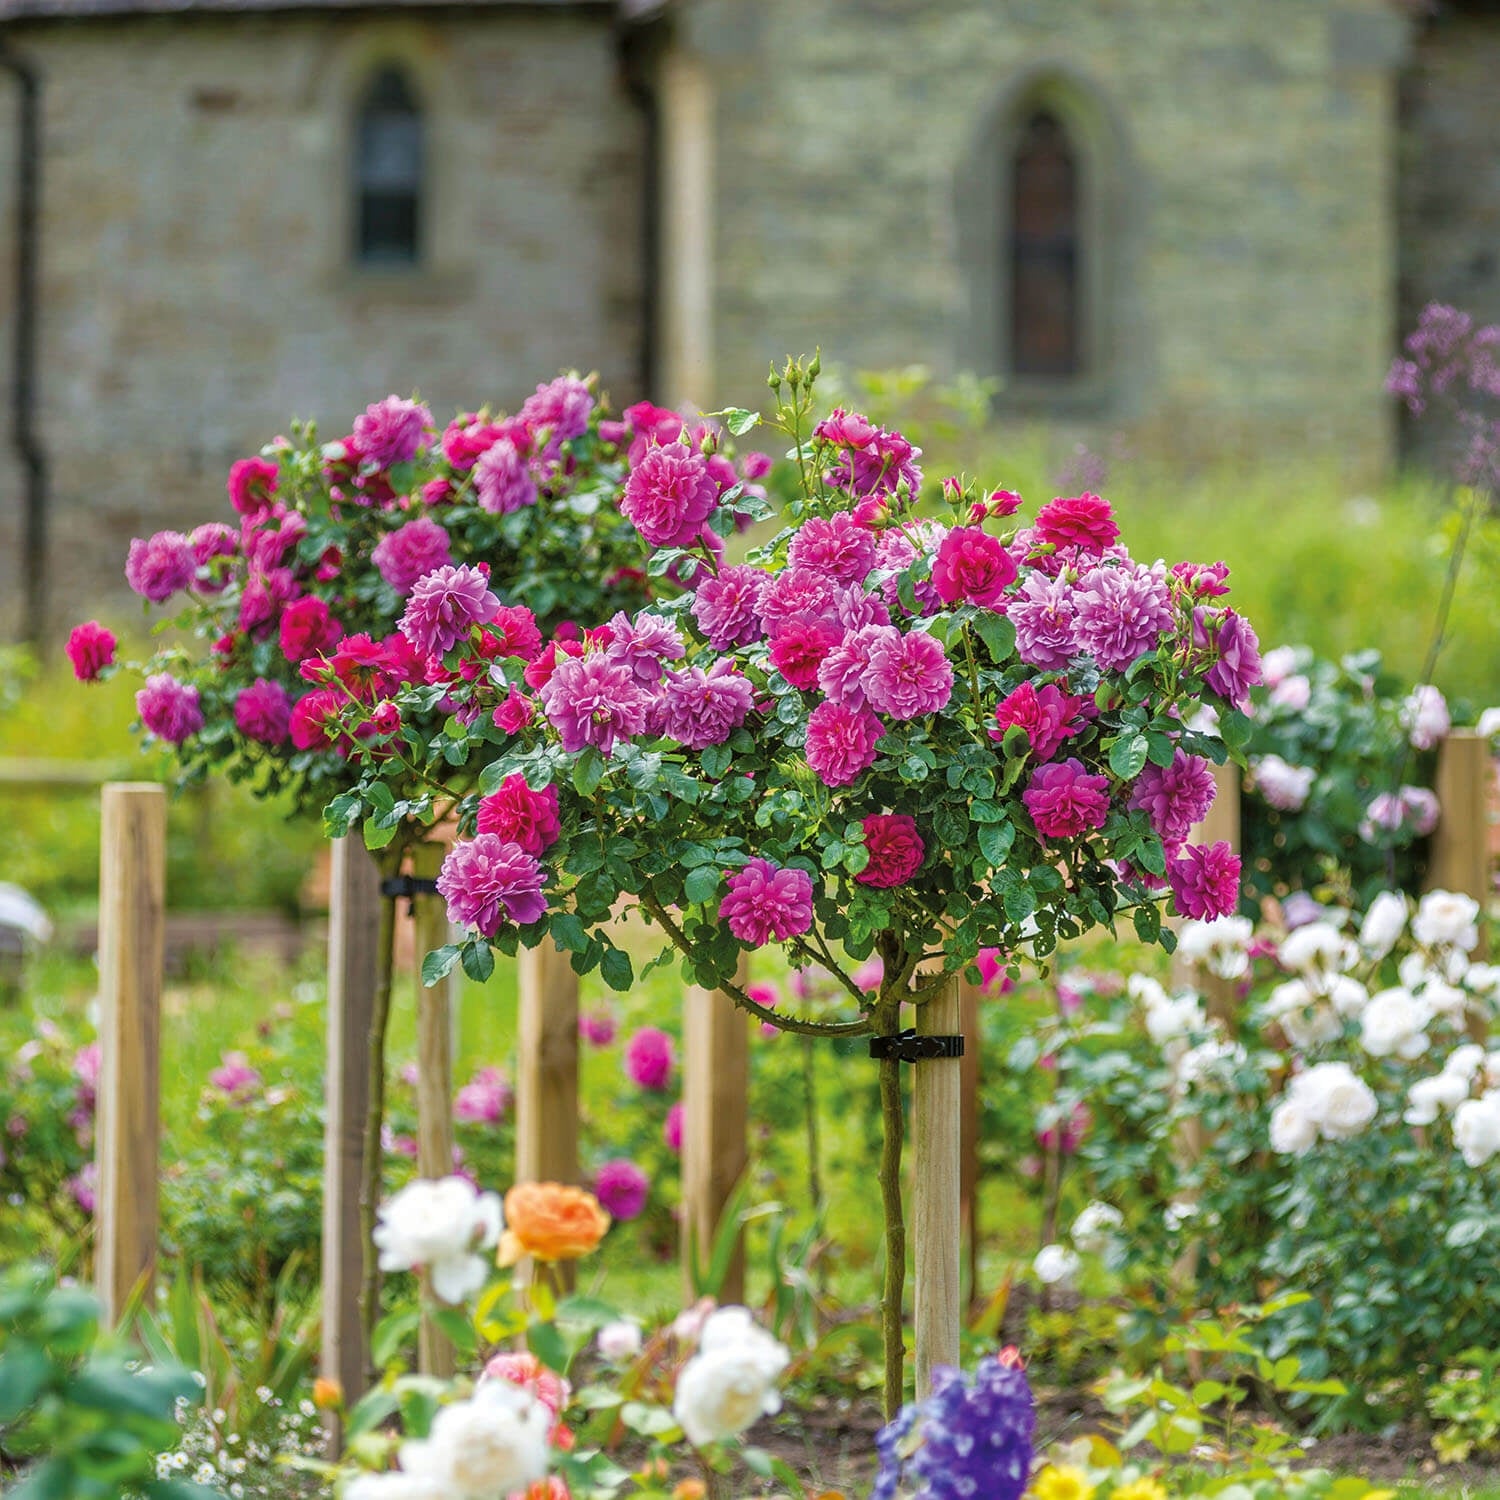
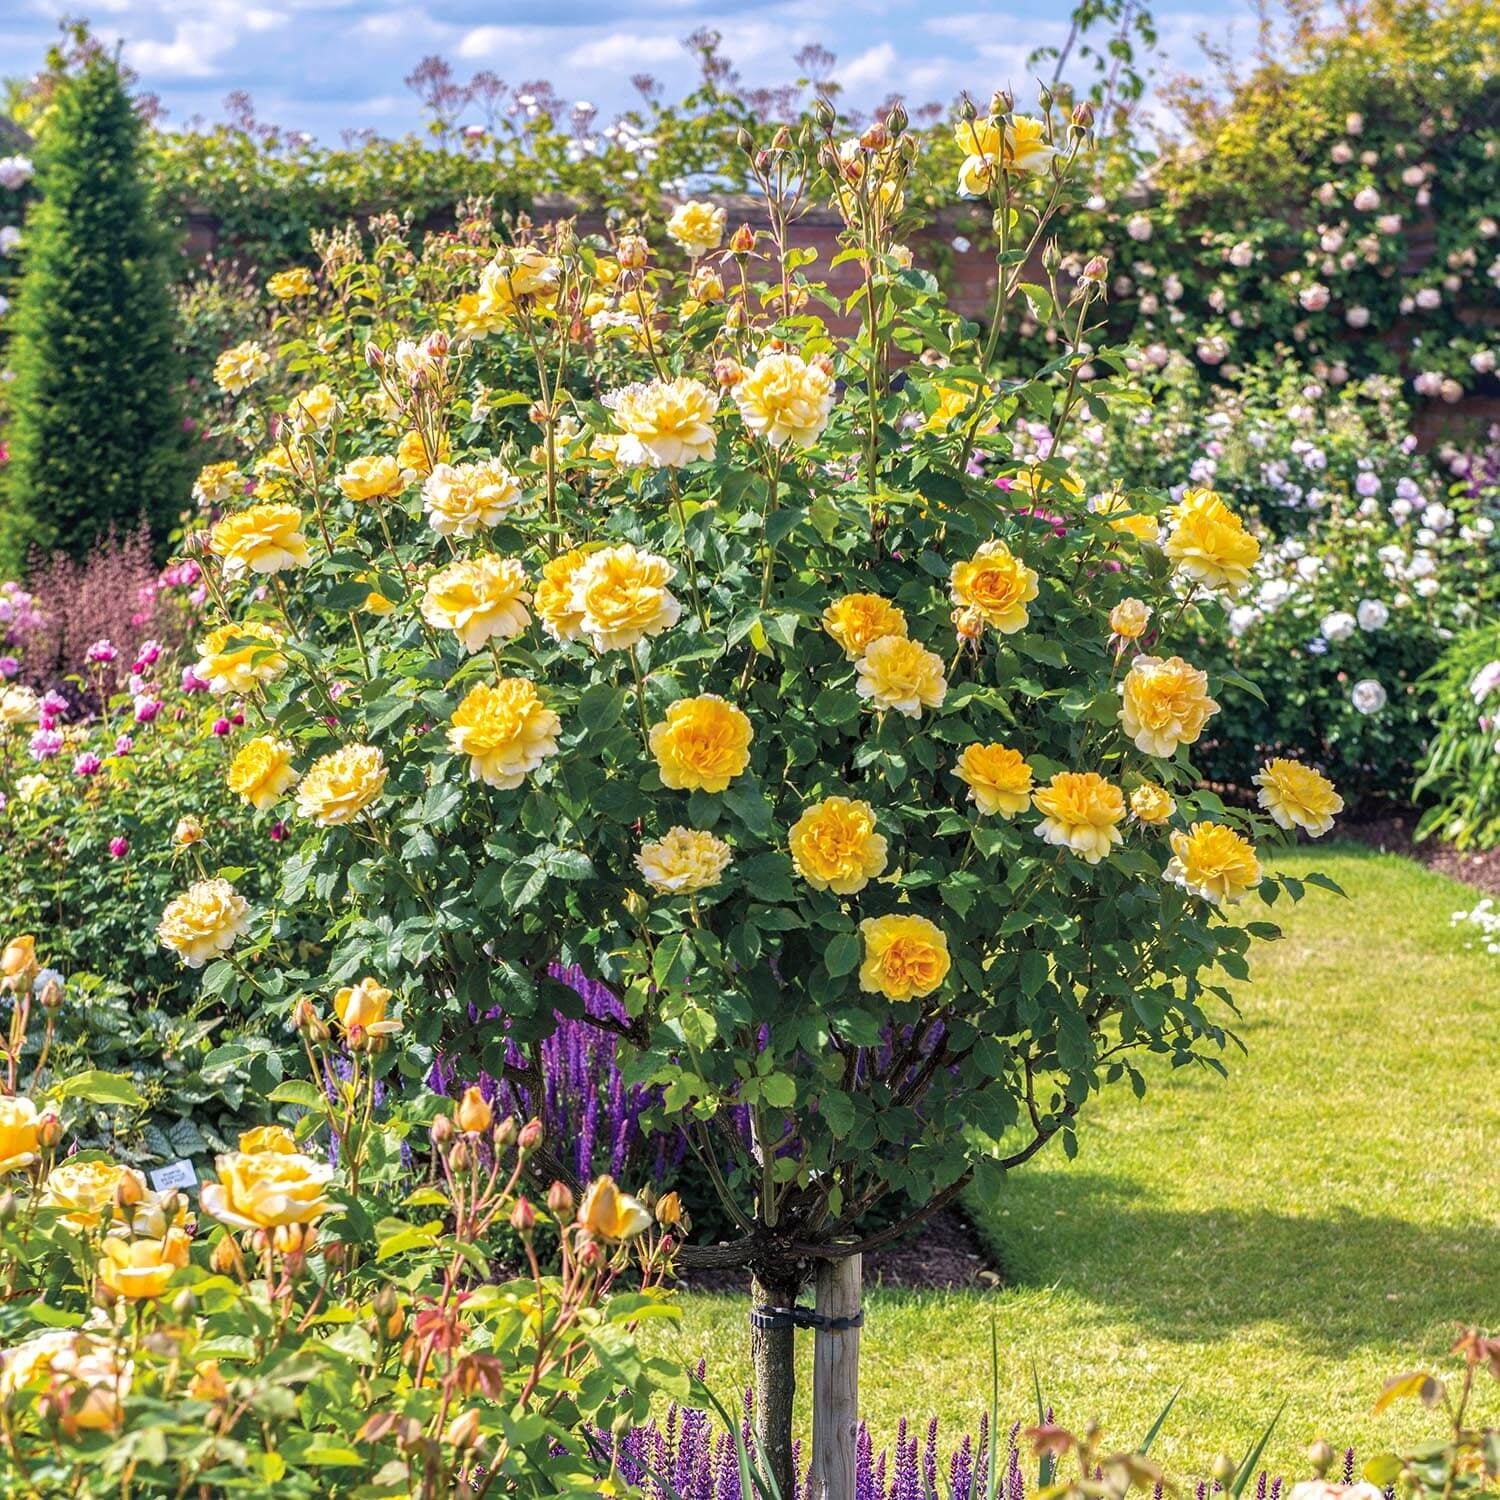
Standard roses, also known as tree roses, bring structure, height, and a sense of grace to the garden. Their blooms are carried high on slender stems, creating a striking focal point among lower planting. Whether standing proudly in a border or adding formality beside a doorway, they add charm and refinement to any setting.
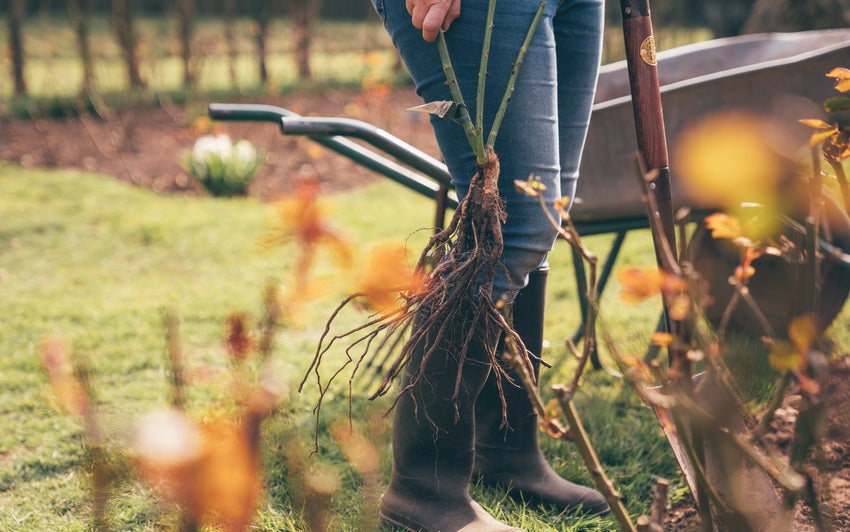
Bare root standard roses arrive dormant, their roots and stems bare. Though they rest quietly through winter, they hold the potential for strong growth and abundant flowers once spring arrives.
The ideal time to plant bare root roses in a pot is during dormancy, from late autumn through early spring. Planting in this period allows the roots to develop before the warmer months arrive, ensuring vigorous growth and a healthy flowering display.
Your Chosen Rose
- Discover Standard Tree Roses
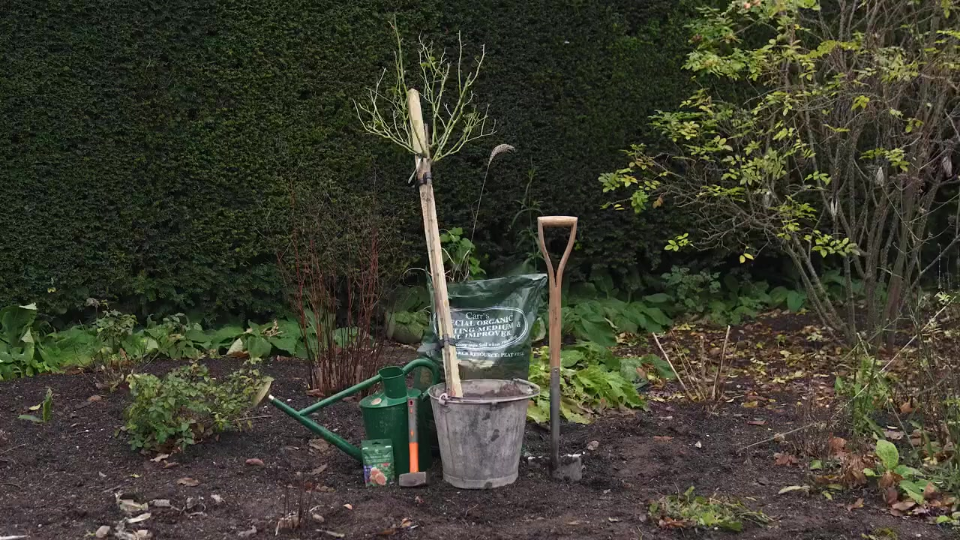
Spade
Fork
Gardening Gloves
Watering Can
Soil Improver or Well-rotted Manure
Large bucket of water
Wooden stake
2 x Standard Tree Rose tie
Hammer or mallet
Standard roses thrive in full sunlight. Aim for at least four hours of direct light each day. Some afternoon shade can be helpful in hotter climates. Choose a well-drained spot with enough space around each plant to prevent competition from nearby trees, shrubs, or hedges.
To improve soil fertility and drainage, mix in a general soil improver before planting. This gives your rose the best possible start.
Planting in the Ground
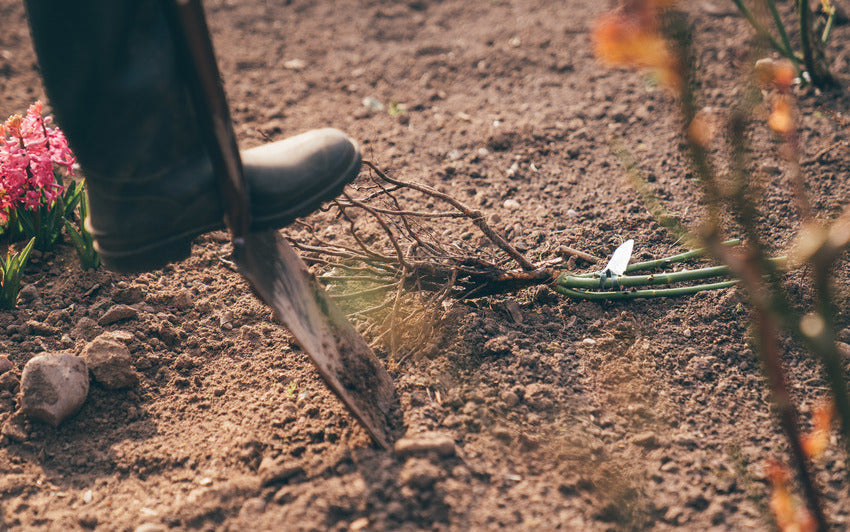
Step 1: Prepare the Site
Dig over the soil thoroughly, removing weeds and stones. Ensure the ground is workable and not frozen or waterlogged.
Step 2: Soak the Roots
Place the roots in a bucket of water for at least two hours before planting to encourage strong establishment.
Step 3: Dig the Hole
Make the hole roughly twice as wide as the root spread and deep enough so that the graft union sits about 5 cm (2 inches) below soil level.
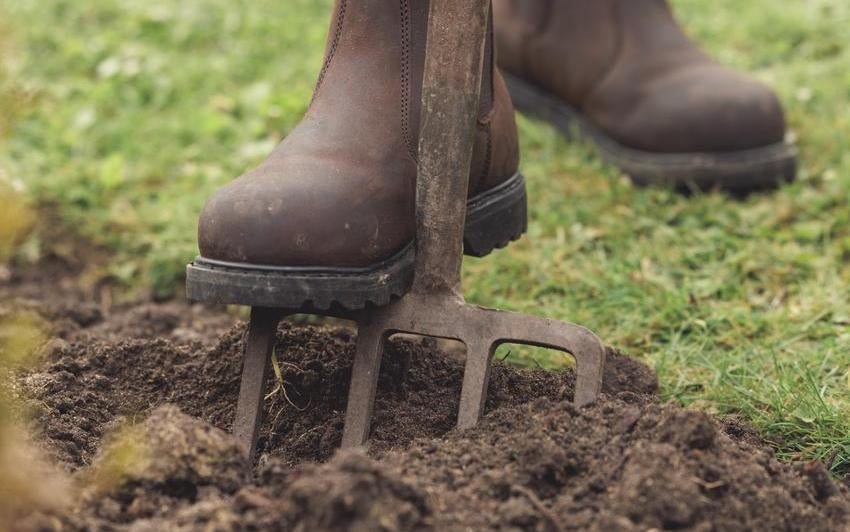
Step 4: Loosen and Enrich the Soil
Loosen the soil at the bottom of the hole with a fork to encourage roots to grow deeply. Mix a spadeful of soil improver with the soil at the bottom of the hole. Also, mix two spadefuls of soil improver with the soil removed from the hole.
Step 5: Position and Plant
Place the rose in the centre of the hole, spreading the roots outward. Backfill with the improved soil, gently firming to remove air pockets.
Step 7: Stake and Secure
Insert a strong stake about 10 cm (4 inches) from the stem before finishing the backfill. Tie the rose to the stake using soft ties, ensuring they are firm but not tight.
Step 8: Water Well
Water thoroughly to settle the soil around the roots.
Planting in a Pot
Step 1: Choose the Right Container
Select a large, heavy pot at least 40-45 cm (16-18 inches) in diameter with good drainage holes. Terracotta or stone provides stability.
Step 2: Prepare the Compost
Use a high-quality loam-based compost such as John Innes No. 3, mixed with one-third soil improver to improve structure and fertility.
Step 3: Stake First
Insert a sturdy stake into the pot, around 10 cm (4 inches) from the centre.
Step 4: Plant the Rose
Place the rose so the graft union sits about 5 cm (2 inches) below the surface. Spread roots gently and fill with compost, firming carefully to remove air pockets.
Step 5: Secure the Rose
Tie the stem to the stake with soft ties, leaving enough room for growth.
Step 6: Water and Position
Water thoroughly and place the pot in a sunny, sheltered spot with at least four hours of sunlight per day.
Step 7: Ongoing Care
Keep the compost moist but not waterlogged. Feed during the growing season and check the ties periodically.
Next Steps
Once planted, the rose will begin to establish and grow.
For guidance on keeping your standard rose healthy and beautifully shaped, see our guide on pruning standard roses:

-
How to Plant Bare Root Standard Roses: Step-by-StepStandard roses, also known as tree roses, bring structure, height and a sense of grace to the garden. Their blooms are carried high on slender stems, creating a striking focal point among lower planting. Whether standing proudly in a border or adding formality beside a doorway, they bring charm and refinement to any setting.
-
Planting Bare Root Shrub Roses in a Pot: Step-by-StepBare root shrub roses are a perfect choice for growing in containers, offering beautiful, bushy growth and abundant, fragrant blooms throughout the summer and into autumn. Planting them in a pot allows gardeners without a garden bed to enjoy the elegance of English Roses, while giving the plant the freedom to establish strong roots in a controlled environment. By following a few careful steps, your rose will settle naturally and flourish for years to come.

-
Planting Bare Root Roses: Step-by-Step for Garden and PotsBare root roses arrive simply, as stems and roots, quietly waiting for the garden to bring them to life. With care, they can transform into lush, flowering plants, filling a garden with colour, fragrance, and presence. Affordable, easy to handle, and a traditional favourite among gardeners, they offer both charm and reward.
-
Planting Bare Root Shrub Roses in the Ground: Step-by-StepBare root shrub roses are a gardener’s delight, offering a traditional, sustainable, and rewarding way to add colour and fragrance to your garden. Delivered simply as stems and roots, they are designed to work in harmony with the seasons. Planted in autumn through to spring, they settle naturally into the soil over the colder months, ready to burst into life and reward you with blooms the following year. Easy to handle, they are a dependable choice for both new and experienced gardeners.
-
Autumn Care for English RosesAs the last blooms of summer fade and the rose garden shifts into autumn, English Roses begin their preparation for winter. The days grow shorter, the air cooler, and the garden takes on a warm, golden light. This is the ideal moment to support your roses, helping them stay healthy, nourished, and ready for the coming season.
-
Wind-Swept Charm: English Roses for Exposed LocationsGardens high on hills, offer breathtaking views, but the combination of wind, cold winters, and shorter growing seasons can make growing roses a challenge. With careful selection and planting, even these exposed gardens can thrive with elegant, fragrant blooms.